


A great looking finish begins with the right start. Following the proper prep procedure will dramatically affect the look and longevity of your finished project.
最佳效果:
Before you start, remove any loose or peeling paint by sanding with medium-grit sandpaper or wire-brushing the surface. If necessary, de-gloss any glossy surfaces by scuff-sanding or using a chemical deglosser.
For your safety, wear protective clothing, eye goggles and acid-resistant rubber gloves and footwear.
Step 1
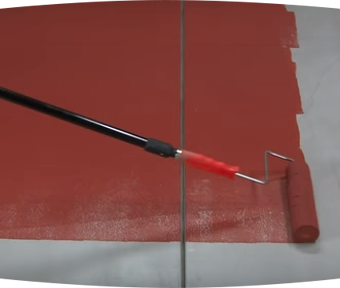
Apply a thick layer of paint stripper to the surface using a paint brush or bristle broom. Distribute evenly. The paint stripper thickness should be such that the previously coated surface is completely covered.
Step 2
If hot or windy conditions cause the paint stripper layer to dry, reapply a light coat of the stripper.
Step 3
Check periodically during the waiting period of 1-6 hrs to ensure that the coating is completely covered with the paint stripper. If the coated surface becomes visible, re-apply a light coat of paint stripper. It should remain wet and active until the coating wrinkles.
Step 4
Use a scraper or pressure washer to remove all coating and residue. Rinse with water thoroughly to remove all chemical residues before re-coating.
Step 1
If your previously coated surface is in good condition, you may coat over it. However, you are still required to clean the surface.
Step 2
Apply the product directly on stained areas for best results. Use the product at full strength for tough stains and diluted for general cleaning.
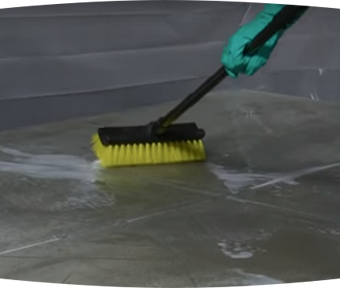
Step 3
Work the degreaser and cleaner into the surface with a stiff bristled, non-metal brush or broom. Allow the product to stand for 10-20 minutes then scrub vigorously. DO NOT allow the surface to dry.
Step 4
Thoroughly rinse the concrete surface with fresh water while scrubbing at the same time to properly remove all remaining residue. Pressure wash for best results.
Step 5
Using a non-metal squeegee or mop, remove the excess water from the entire project area. Prevent all rinse solution from entering storm drains.
Step 6
The ideal surface profile for coating should be clean and feel like medium to light grit sandpaper. To achieve this, apply your cleaner and etcher product to the surface with a plastic watering can.
Step 7
Spread the cleaner and etcher using a stiff bristled, non-metal brush or broom. Allow the product to stand for at least 10-20 minutes on the surface then scrub vigorously using the broom.
Step 8
Thoroughly rinse the concrete surface with clean water using a hose with a high-pressure nozzle or a pressure washer. The surface is ready for priming when it feels like medium to light grit sandpaper and no residue or loose concrete remains.
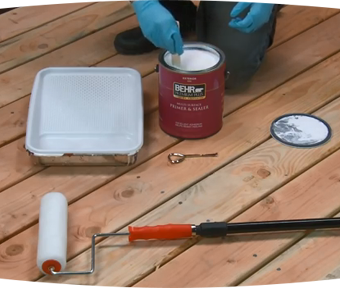
Step 1
Apply bonding primer to spot-prime any uncoated concrete surfaces to enhance the adhesion.
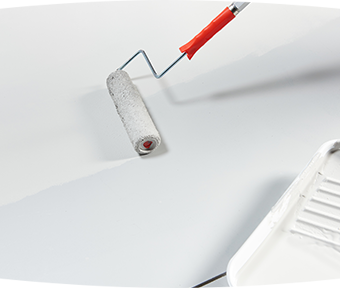
Step 2
Apply the bonding primer using a high-quality pump sprayer, 1/4" to 3/8" nap roller, a nylon-polyester brush or pad applicator.
Step 3
The bonding primer will dry to the touch in approximately 2 hours. Apply a topcoat after a minimum of 4 hours but before 30 days.

High Pressure Nozzle

正在计划重新装修您的住宅?
借助此便捷工具,在手机预览、匹配和调整色彩
别错过BEHR百色熊的最热产品和最新资讯